 Normah Baharom


- Normah Baharom's trip Barracuda Diving Center
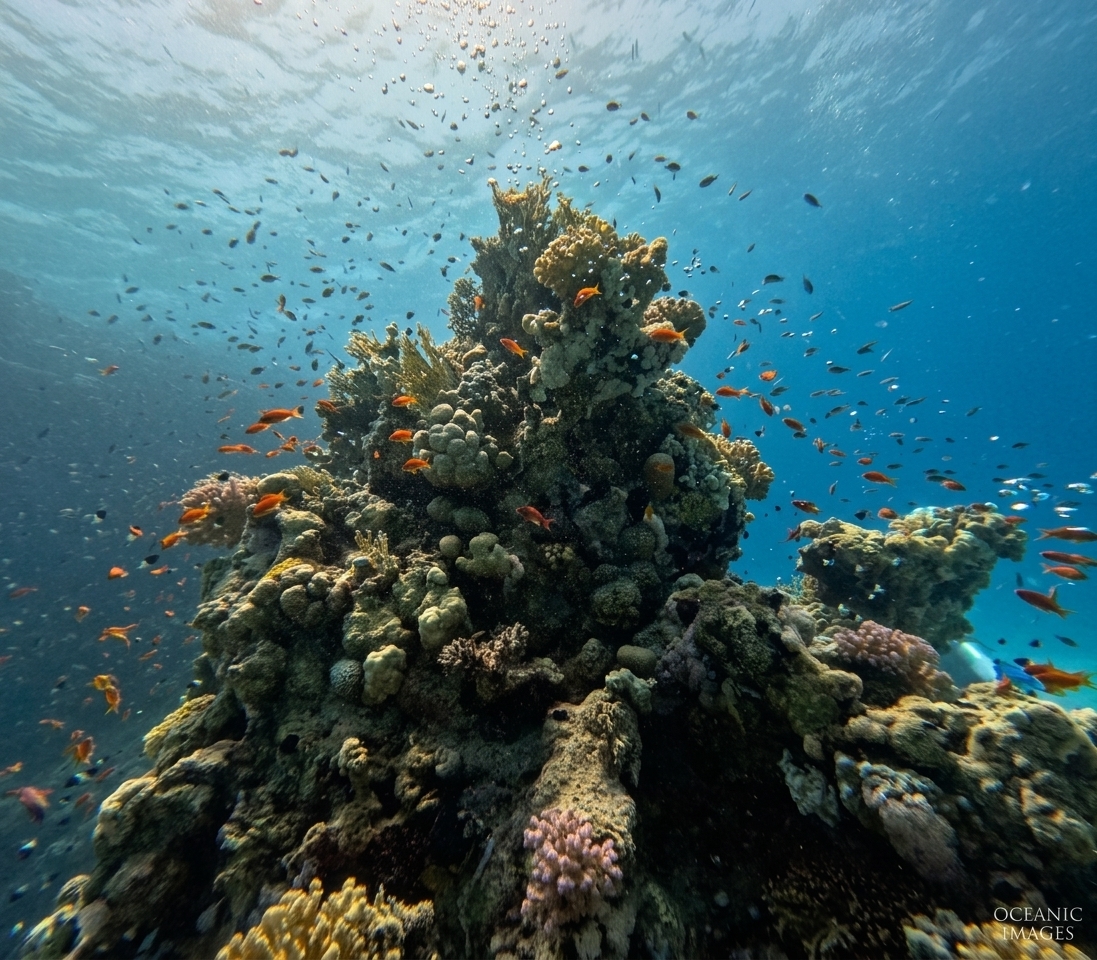
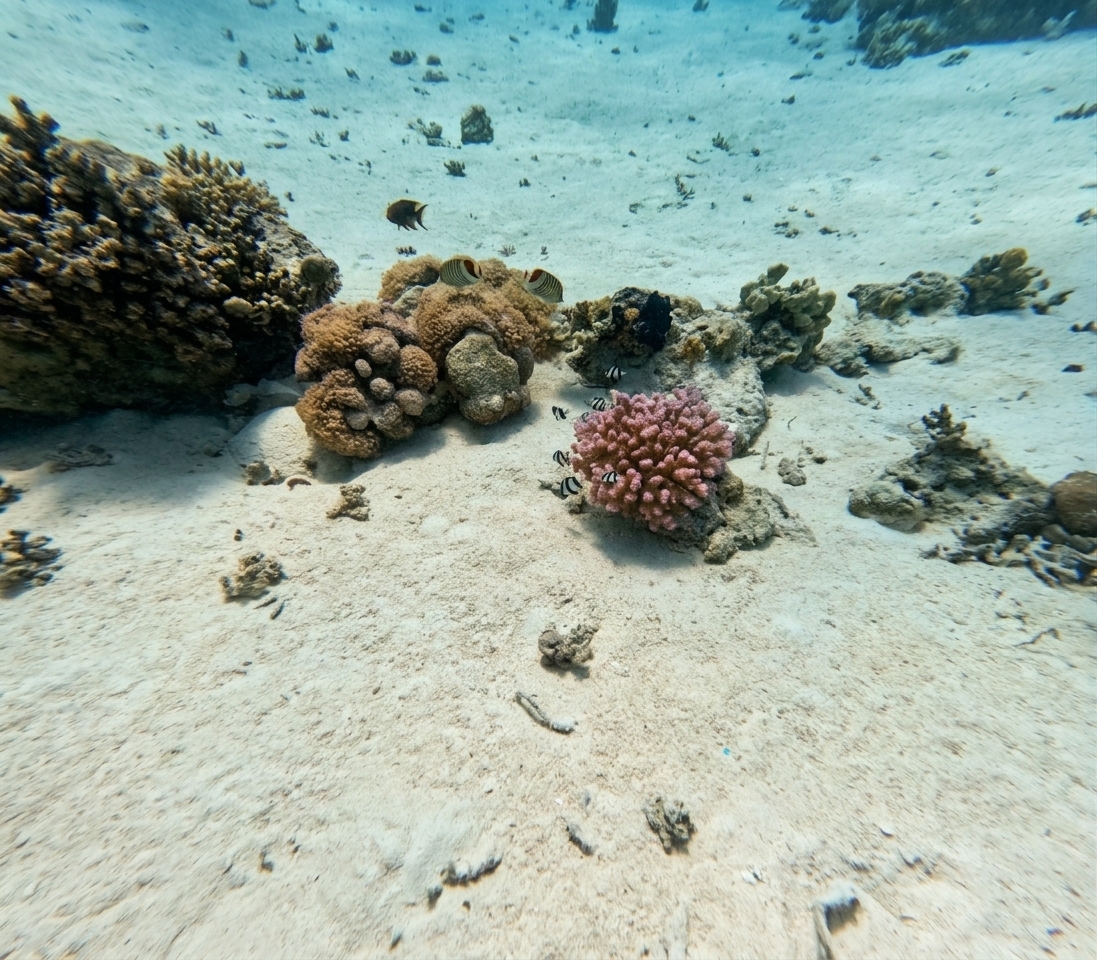
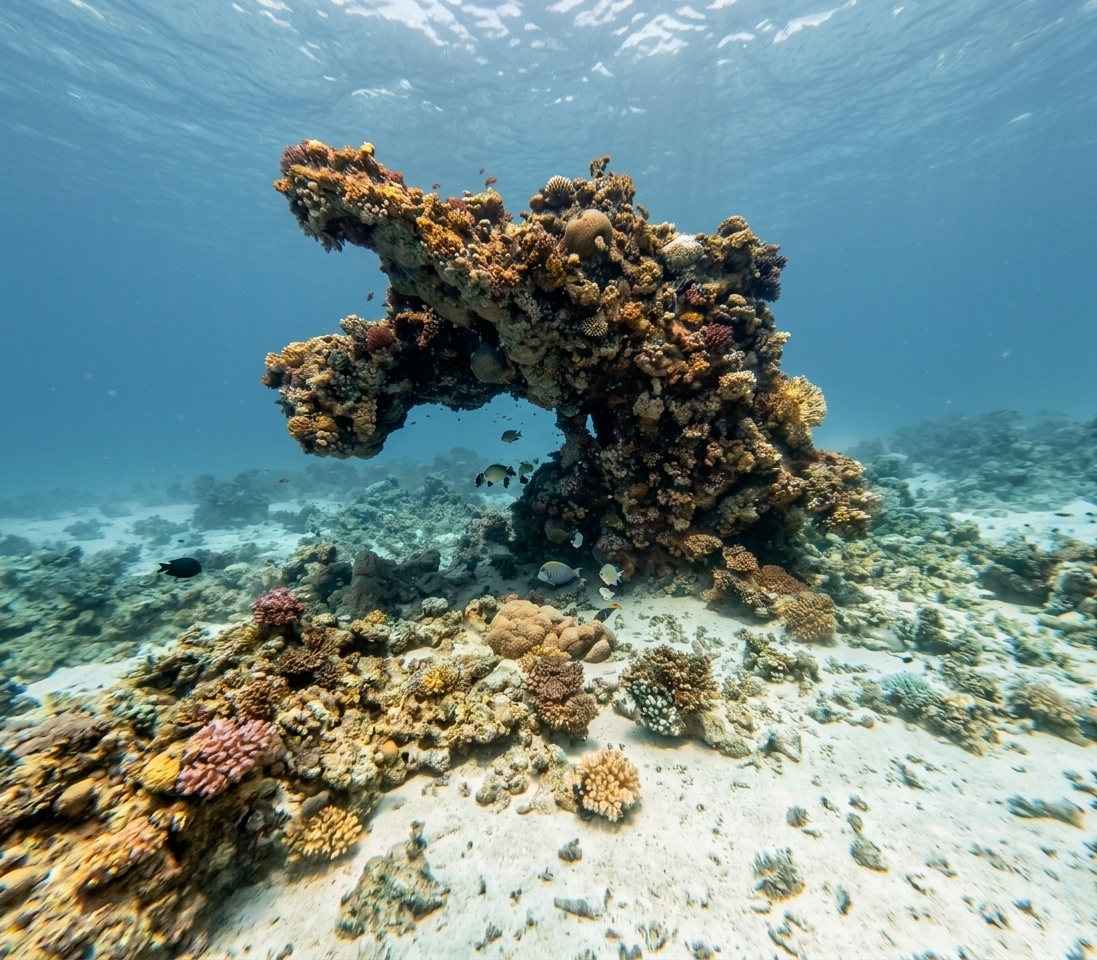
2016-12-16 - Car Cemetery 2, Fujairah, United Arab Emirates
21.2m - 37 min - Dived with Eisa Acosta
AOW diving


2016-12-23 - Inchcape 10, Fujariah, United Arab Emirates
22.2m - 39 min - Dived with Eisa Acosta
Skill to Hone: Impeccable Buoyancy Control Divers will never achieve good buoyancy without practice and a conscious effort to actually think about buoyancy (visualisation). Be patient. The plush lining of a dry wetsuit can trap a surprising amount of air, and therefore buoyancy, in its fibers, and it takes a minute or so to get fully wet. Reach up. * Hold the inflator hose over your head and stretch it upward a little so its attachment point to your BC is highest. * Dip your right shoulder and squeeze the BC against your chest with your right arm. This maneuver encourages the last few bubbles to find the exit. * Rock backward a little. Many BCs trap a bubble of air just behind your head. Rocking backward as if you are in a La-Z-Boy recliner moves the exhaust hose over the bubble and lets it escape. Relax. Many of us move our hands and feet more than we realize, especially at the beginning of the dive. It's nerves: Without realizing it, your body is trying to climb out of the water. That generates upward thrust, making you seem lighter than you are. To counteract that, *hold your right arm still at your side * left arm is holding up your exhaust hose * extend your legs and * point your fins straight down so they have the least resistance to sinking. Exhale. Another manifestation of nervousness is a tendency to hold your breath, and a lungful of air adds as much as 10 pounds of buoyancy. Exhale and hold it until you start sinking, then take shallow inhales until you get below five feet. Force it. Another option is to use your body weight to generate some downward momentum by lifting part of it out of the water, then letting it fall back. Lying on your face, jackknife your upper body downward, then lift one leg, then another, out of the water. The weight of your legs will drive you downward, and once your fins are in the water you can kick down.


2016-12-23 - Car Cemetery 2, Fujairah, United Arab Emirates
19.7m - 37 min - Dived with Eisa Acosta
Dive Better, Dive Safer: 101 Tips That Will Make You A Pro Hit the Pause Button 4 Times Get in the habit of inserting pauses in your dive plan. It's a chance to take stock, collect yourself and relax a moment. After you're geared up, pause a moment: Forget anything? Does everything feel right? After you enter the water but before you submerge: Is your weight belt still in place? Is your buddy OK? Is there current? After you reach max depth but before you move off: How do you feel? Check your equipment, check your gauges, check your buoyancy, check your buddy. Look around so you can recognize the scene when you return and are trying to find the anchor line. After you finish your safety stop but before you surface: Hear any propellers? Check your buoyancy.

2016-12-24 - Deep Reef, Fujairah, United Arab Emirates
27.7m - 34 min - Dived with Eisa Acosta
Very fortunate to dive with Joel Acosta who is a Trainer for Police Dubai. He continue to give positive comments on my diving progress. 6 Tips for Better Buoyancy Control Minimize your weighting. Extra air in your BC, to support extra lead on your belt, will change volume and buoyancy with depth, causing you to yo-yo and preventing you from maintaining neutral buoyancy. Check it at the safety stop. It's at the end of your dive, not the beginning, that you should be weighted for neutral buoyancy at 15 feet. That means you'll be about five pounds heavy at the beginning of the dive. (That's the weight of the air you use.) Suspend a weight bag. Hang a mesh bag with some one-pound and two-pound weights from the boat at about 15 feet. Start the dive with two pounds or so of your weight in a BC pocket. At the safety stop, next to the weight bag, you can transfer weights between pocket and bag to find your perfect weighting. Relax. To find neutral buoyancy, go limp. Any sculling with hands or feet will create upward thrust. Add and subtract air in small squirts. You must wait a minute for adjustments to take effect before adding or subtracting more. The effect is not instantaneous. Use your lungs, not your BC. Make slight temporary changes to your buoyancy by holding more or less air in your lungs. That way you don't disturb the correct inflation of your BC. Hold air with your chest, not by closing your glottis, so pressure can escape.

2016-12-24 - Inchcape 10, Fujariah, United Arab Emirates
22m - 34 min - Dived with Eisa Acosta
I am gaining my confidence in the abyss. My instructor continues to give positive comments on my progress. 17 Ways to Reduce Air Consumption Streamline your equipment. Stash accessories in pockets or leave them behind. Reduce the lengths of your hoses where you can and route them close to your body. Clip in your console and your octopus. Choose a BC sized properly for your body and for the buoyancy you need; too much causes excess drag. Drop weight. The less weight you carry, the less air you have to put into your BC to maintain buoyancy, so the less bulk you have to drag through the water. You use more air dragging more bulk around. Most divers can drop two pounds or so. Get neutral. And get trimmed properly, so that when you're neutral, you're horizontal. That minimizes the size of the "hole" you have to make in the water when you swim. Move slowly. Water resistance increases exponentially with speed. Swimming twice as fast requires four times as much energy. All your movements should be in slow motion. Kick within your slipstream. Keep your fins within that "hole" in the water made by your body. Wider kicks increase drag. Use efficient fins. Some deliver more thrust for a given effort than others, especially split fins. See ScubaLab tests in our Gear section for details. Don't skim the bottom. Both the bottom and the surface cause turbulence that robs energy if you swim within a few feet of them. Make long surface swims on your back. And breathe surface air: It's free. Pause after inhaling. Under water, your breathing pattern should be inhale, pause, exhale, inhale, pause, exhale. The pause (held with your chest muscles, not by closing your throat) allows more gas transfer to take place in your lungs and less oxygen to be wasted. Breathe slowly. Friction between the incoming air and your mouth, throat, lungs, etc. increases exponentially with speed. More friction means more energy expended for less air actually arriving in your lungs. Move the air slowly. Breathe deeply. The more complete each breath is, the fewer of them you have to take. Breathe "from the diaphragm," trying to completely fill and completely empty your lungs. Use a high-performance regulator. Better regulators minimize the work of breathing. They minimize the amount of air you burn just getting air. Maintain your regulator. They lose performance and increase work of breathing with use and age, and need regular maintenance. Readjust your regulator. On many regulators, the purpose of the adjustment knob is not merely to prevent free-flowing on the surface. It's also to minimize work of breathing at depth. Periodically during your dive, open the valve until the regulator just begins to bubble, then back up on the adjustment a bit. Stop all leaks. Lots of little bubbles add up. Usual suspects: tank O-ring, BC inflators, console swivels. Stay above. At five feet less depth than your buddy, you'll see almost everything he does, but you'll use substantially less air. (Though the difference is greatest at shallower depths.) Manage currents wisely. Learn how to detect, avoid and cope efficiently with adverse currents.


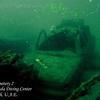
2016-12-30 - Inchcape 10, Fujariah, United Arab Emirates
24.2m - 40 min - Dived with Eisa Acosta
Buoyancy Basics for Scuba Diving by Natalie Gibb Updated March 12, 2016. scuba.about.com The Goal: Use your lungs and your buoyancy compensator (BCD) to keep yourself neutrally buoyant (or close to neutrally buoyant) during the entire descent. Keep in mind that: • A diver should be able to control his buoyancy well enough to stop at any moment of the descent and quickly achieve neutral buoyancy. • A diver should also be able to complete the descent without touching the bottom. This type of descent is a required skill in PADI Open Water Course (called a controlled descent without a reference). Why Learn to Control Your Descent?: The ability to make a controlled descent is important for three reasons: 1. If a diver experiences ear equalization problems and he cannot arrest his descent, he risks an ear barotrauma. 2. A diver must be able to descend without landing on the bottom because even a gentle fin kick can irrevocably injure coral or other aquatic life. Landing on a shipwreck or cave floor can not only destroy delicate historical information, it can stir up sediment to the point that visibility is dangerously reduced. 3. A diver should be able to stay close to his buddy during descent. A diver who plummets to the bottom will be unable to assist a buddy making a slower descent. CONTINUE READING BELOW OUR VIDEO 10 Best Basketball Players Of All Time 0:04 / 0:16 Step 1: Understand the Use of the BCD: The buoyancy compensator (BCD) is not an elevator. Do not deflate the BCD to go down and do not inflate the BCD to go up. Using the BCD for these purposes only causes loss of buoyancy control. The only reason to deflate the BCD is to compensate for excessively positive buoyancy, and the only reason to inflate the BCD is to compensate for excessively negative buoyancy (thus the name “buoyancy compensator” and not “depth control device”). Only adjust the BCD to achieve neutral buoyancy, not to move up and down in the water. To ascend and descend, use your lungs and, in rare occasions, your fins, but never, never, your BCD. (Confused about all this "buoyancy" jargon? Review Buoyancy Basics for Scuba Diving.) Step 2: DO NOT Dump All the Air From the BCD to Begin the Descent: Do not deflate the BCD until you plummet downwards like an anchor. To control your descent, you must first establish neutral buoyancy at the surface. Deflate the BCD incrementally until you float at mask-level with your lungs full of air and sink a little when you breathe out. This indicates neutral buoyancy. With practice, you will learn to deflate the BCD to exactly this point in one shot, but for now, deflate the BCD a little at a time until you find neutral buoyancy. (Hint: This only works if you are relaxed and not kicking, click here to learn how to relax on the surface). Step 3: Exhale Fully to Begin Your Descent: Once you are neutrally buoyant at the surface, begin your descent by exhaling fully. This takes some practice as you must exaggerate your breathing. Exhale all the air out of your lungs slowly (with the regulator mouthpiece still in your mouth) and then hold the air out of you lungs for a few seconds. Try this now: exhale, exhale, exhale, exhale more, more, and now hold the air out of your lungs, try to exhale even more. . . good! The exhalation process should take around 10 seconds. Expect to slowly sink near the end of the ten seconds, and be patient. If you find yourself back at the surface when you inhale, deflate the BCD a little more and repeat the process. When performed properly, the exhalation will move you far enough down in the water column that the air in your BCD compresses, and you begin to sink slowly (Confused? Review why water pressure compresses the air in you BCD as you sink.) Step 4: Reestablish Neutral Buoyancy: Allow yourself to float downwards until you can no longer easily control your buoyancy with your lungs. Once you reach the point that you continue to sink when you inhale, you are no longer neutrally buoyant. When you are neutrally buoyant you should rise slightly when you inhale fully. Remember, the goal is to maintain neutral buoyancy throughout the descent, not negative buoyancy. Add a tiny, tiny amount of air to your BCD. You should be able to stop descending or rise slightly when you inhale. Take some time to find this point of neutral buoyancy. Step 5: Regroup: After descending a few feet and reestablishing neutral buoyancy, take a moment to check that your ears are properly equalized. Look at your depth gauge and notice if you are approaching or have reached your intended depth. Check on your buddy. If all is good . . . Step 6: Descend by Exhaling Once Again: Once you have regrouped, continue your descent by exhaling fully. The goal is to control your descent by working your way slowly and carefully down through the water column using you lungs to descend and your BCD to keep yourself neutrally buoyant. When you arrive at your desired depth, you should have to do very little to fine-tune your buoyancy.
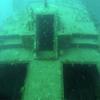


2016-12-30 - Car Cemetery 2, Fujairah, United Arab Emirates
20.8m - 38 min - Dived with Eisa Acosta
6 Steps to a Controlled Descent - Make Descents Enjoyable, Not Stressful Step 1: Understand the Use of the BCD Step 2: DO NOT Dump All the Air From the BCD to Begin the Descent: Step 3: Exhale Fully to Begin Your Descent Step 4: Reestablish Neutral Buoyancy Step 5: Regroup Step 6: Descend by Exhaling Once Again At the beginning, yes. The first few times you attempt a truly controlled descent, you will find it time consuming. This does not mean that learning to control your descent is not valuable. As you gain experience with controlling your descent, you will become more efficient and effective. Eventually, you will deflate exactly the correct amount of air from your BCD in one shot, exhale and float down, add air to compensate for the increased negative buoyancy at the correct moment, and continue quickly down. Once mastered, a controlled descent is more efficient than dumping the all air from your BCD at the beginning of the dive because you do not waste time fighting with your buoyancy on the way down. You arrive at your desired depth neutrally buoyancy and ready to swim off on your adventure. Be patient. Every diver can properly control his descent with understanding and practice THE GOAL Use your lungs and your buoyancy compensator (BCD) to keep yourself neutrally buoyant (or close to neutrally buoyant) during the entire descent. Keep in mind that: • A diver should be able to control his buoyancy well enough to stop at any moment of the descent and quickly achieve neutral buoyancy. • A diver should also be able to complete the descent without touching the bottom. This type of descent is a required skill in PADI Open Water Course (called a controlled descent without a reference). Step 1: Understand the Use of the BCD: The buoyancy compensator (BCD) is not an elevator. Do not deflate the BCD to go down and do not inflate the BCD to go up. Using the BCD for these purposes only causes loss of buoyancy control. The only reason to deflate the BCD is to compensate for excessively positive buoyancy, and the only reason to inflate the BCD is to compensate for excessively negative buoyancy (thus the name “buoyancy compensator” and not “depth control device”). Only adjust the BCD to achieve neutral buoyancy, not to move up and down in the water. To ascend and descend, use your lungs and, in rare occasions, your fins, but never, never, your BCD. (Confused about all this "buoyancy" jargon? Review Buoyancy Basics for Scuba Diving.) Step 2: DO NOT Dump All the Air From the BCD to Begin the Descent: Do not deflate the BCD until you plummet downwards like an anchor. To control your descent, you must first establish neutral buoyancy at the surface. Deflate the BCD incrementally until you float at mask-level with your lungs full of air and sink a little when you breathe out. This indicates neutral buoyancy. With practice, you will learn to deflate the BCD to exactly this point in one shot, but for now, deflate the BCD a little at a time until you find neutral buoyancy. (Hint: This only works if you are relaxed and not kicking, click here to learn how to relax on the surface). Step 3: Exhale Fully to Begin Your Descent: Once you are neutrally buoyant at the surface, begin your descent by exhaling fully. This takes some practice as you must exaggerate your breathing. Exhale all the air out of your lungs slowly (with the regulator mouthpiece still in your mouth) and then hold the air out of you lungs for a few seconds. Try this now: exhale, exhale, exhale, exhale more, more, and now hold the air out of your lungs, try to exhale even more. . . good! The exhalation process should take around 10 seconds. Expect to slowly sink near the end of the ten seconds, and be patient. If you find yourself back at the surface when you inhale, deflate the BCD a little more and repeat the process. When performed properly, the exhalation will move you far enough down in the water column that the air in your BCD compresses, and you begin to sink slowly (Confused? Review why water pressure compresses the air in you BCD as you sink.) Step 4: Reestablish Neutral Buoyancy: Allow yourself to float downwards until you can no longer easily control your buoyancy with your lungs. Once you reach the point that you continue to sink when you inhale, you are no longer neutrally buoyant. When you are neutrally buoyant you should rise slightly when you inhale fully. Remember, the goal is to maintain neutral buoyancy throughout the descent, not negative buoyancy. Add a tiny, tiny amount of air to your BCD. You should be able to stop descending or rise slightly when you inhale. Take some time to find this point of neutral buoyancy. Step 5: Regroup: After descending a few feet and reestablishing neutral buoyancy, take a moment to check that your ears are properly equalized. Look at your depth gauge and notice if you are approaching or have reached your intended depth. Check on your buddy. If all is good . . . Step 6: Descend by Exhaling Once Again: Once you have regrouped, continue your descent by exhaling fully. The goal is to control your descent by working your way slowly and carefully down through the water column using you lungs to descend and your BCD to keep yourself neutrally buoyant. When you arrive at your desired depth, you should have to do very little to fine-tune your buoyancy.


 We are participating today in the startup contest Techcrunch Disrupt. Support Diveboard by voting for us!